Made from two pillowcases, these bags are simple to make and can carry the heaviest of grocery hauls. It took me a few goes to get the steps right, but it makes sense once you’ve done it once!
It’s pretty dang fun choosing pillow case combinations that go well together, and if you like both of your choices, then great!- because these are fully reversible. Pick the side that matches your mood if you want to be a bit fashion-y or just make yourself some shopping bags you can rely on.
Source your materials:
Pillowcases are cheap and plentiful in second hand shops (or in your linen cupboard :-).
You will need:
- two pillowcases, the same size (they don’t have to be a proper ‘pair’ but it won’t work if one is a lot bigger or smaller than the other one)
- a sewing machine, thread and pins
- I use an overlocker, but it’s not necessary
- scissors.
These are the two pillowcases I chose. They are each different on the front and back.
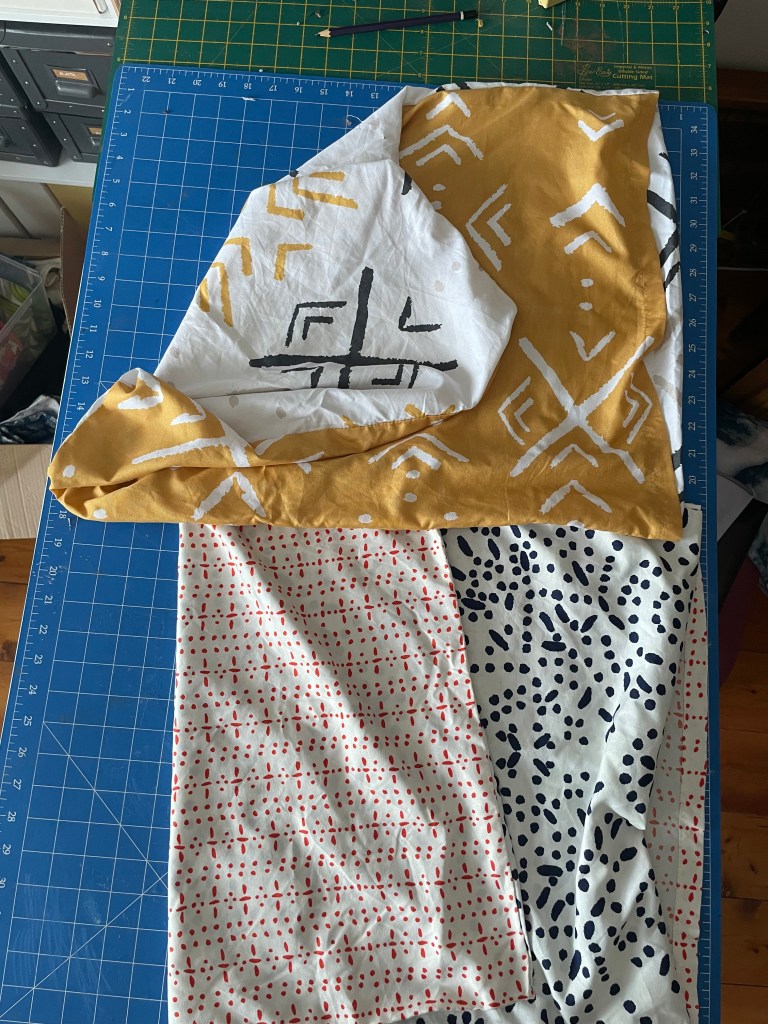
Step 1:
Put one pillowcase inside the other, right sides together (that is, the outsides facing each other and the insides facing you)

Step 2:
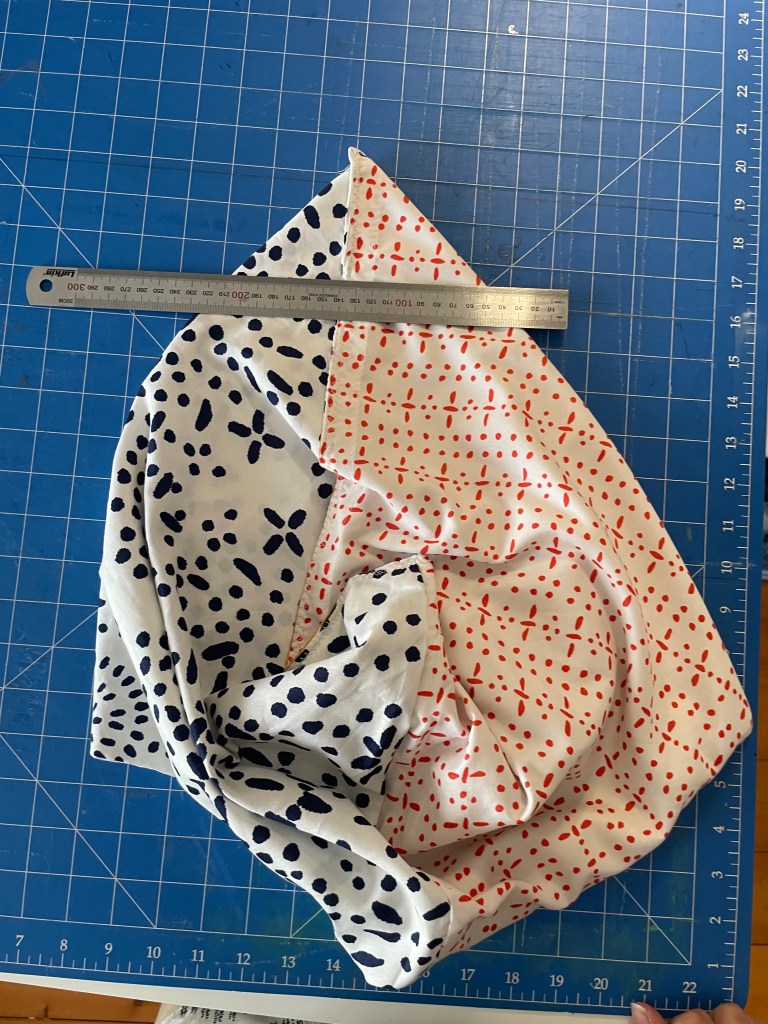
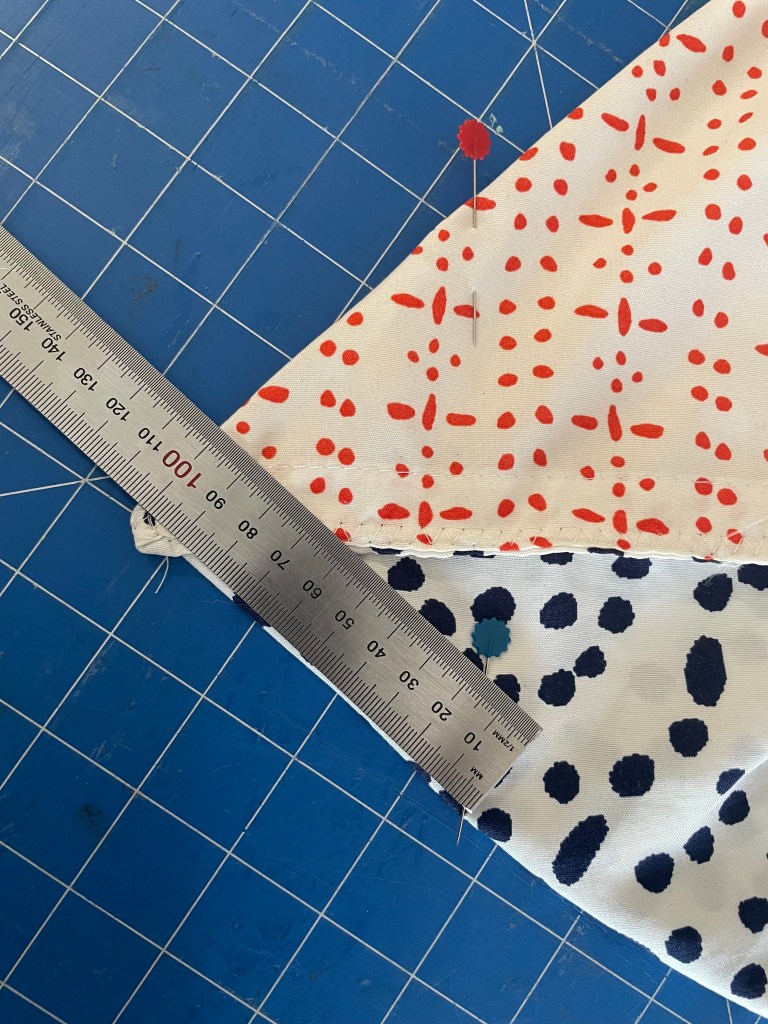
Fold your pillowcase sandwich in half, and cut out a half-U shape, making sure you cut to the closed end of the pillowcases. Start your cut about half way down the folded side of the pillowcases and leave at least 10cm width for the top of the handle. You can freehand this – honestly!

It should look a bit like this:

Step 3:
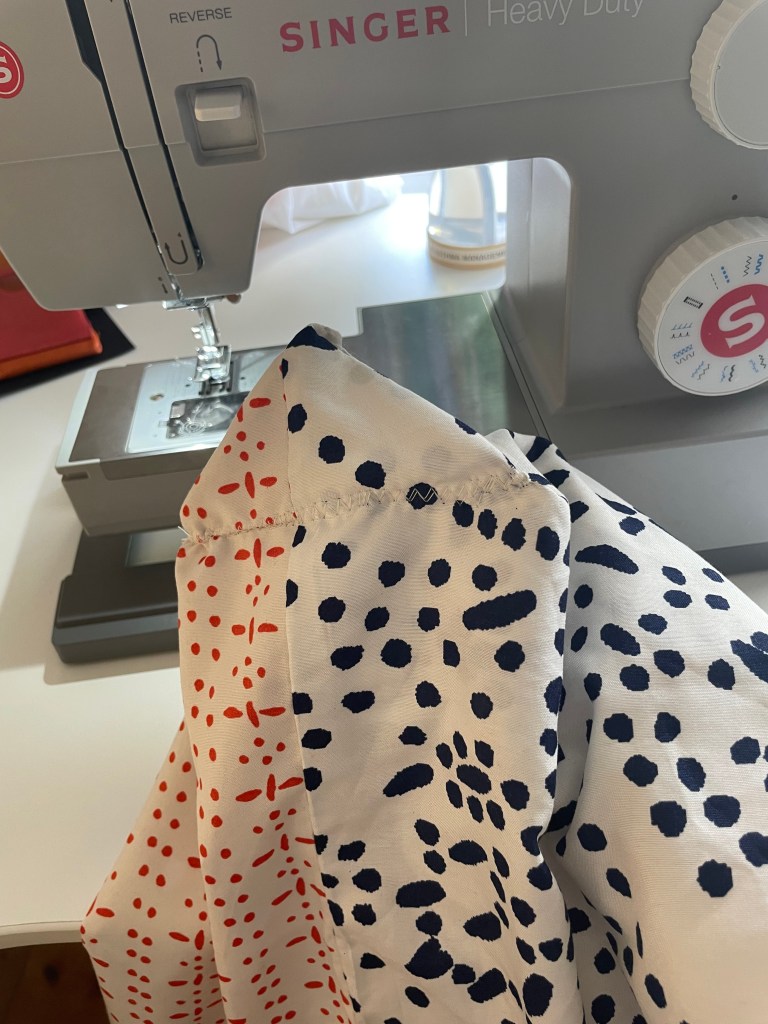
Unfold your pillowcase sandwich and then pin and sew around the opening you’ve just created. You should end up with a bag ‘tunnel’ that is open at the bottom. I overlocked first to avoid any internal fraying, but you don’t really need to. You can just straight stitch with a regular sewing machine. I do both.


Step 4:
Turn the bags so they are right sides out. You end up with a weird-looking sack with skinny arms.
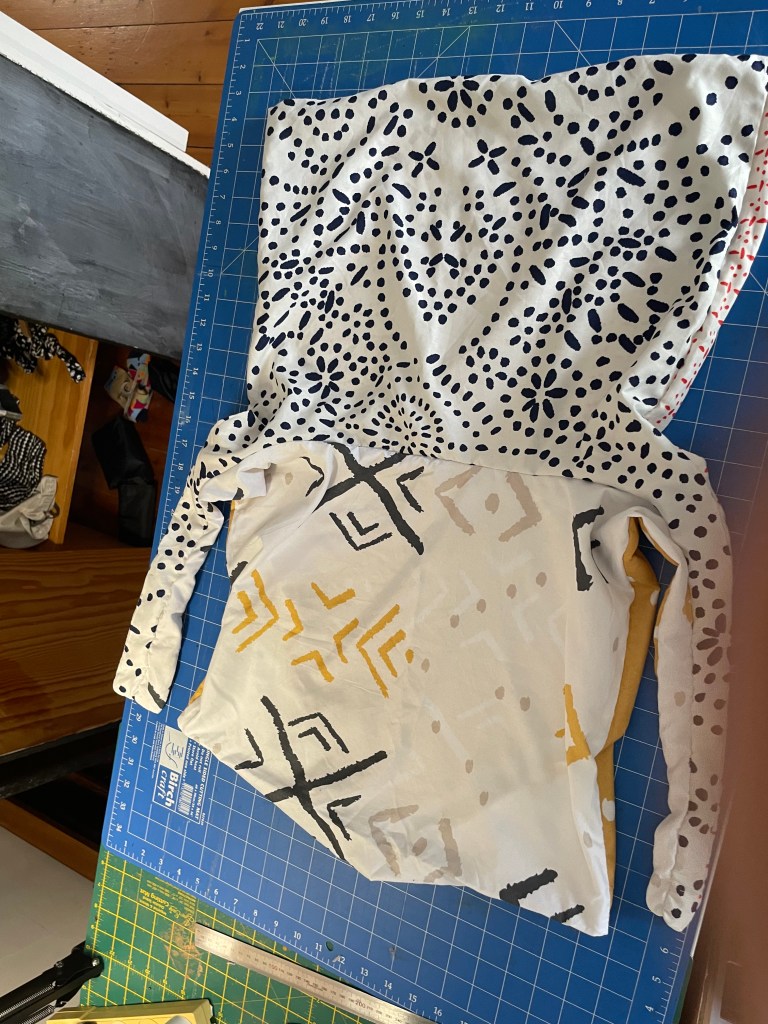
Step 5:
Tuck the lining pillowcase inside and you almost have a bag! You just need to pin and sew the bottom together.

Step 6:
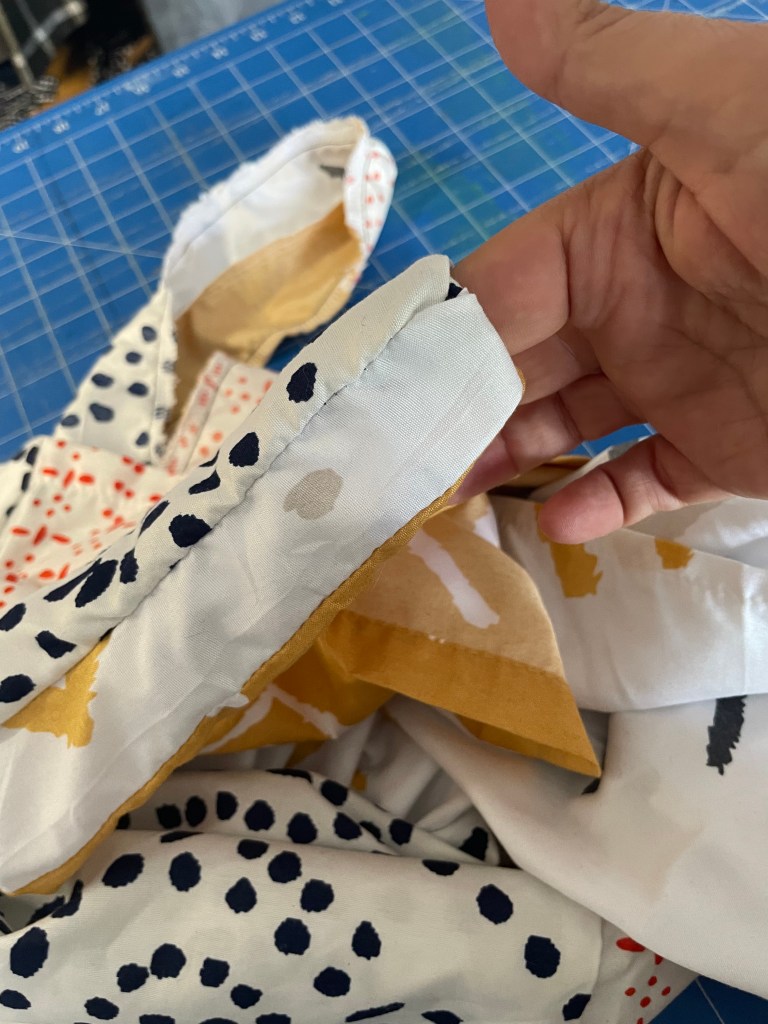
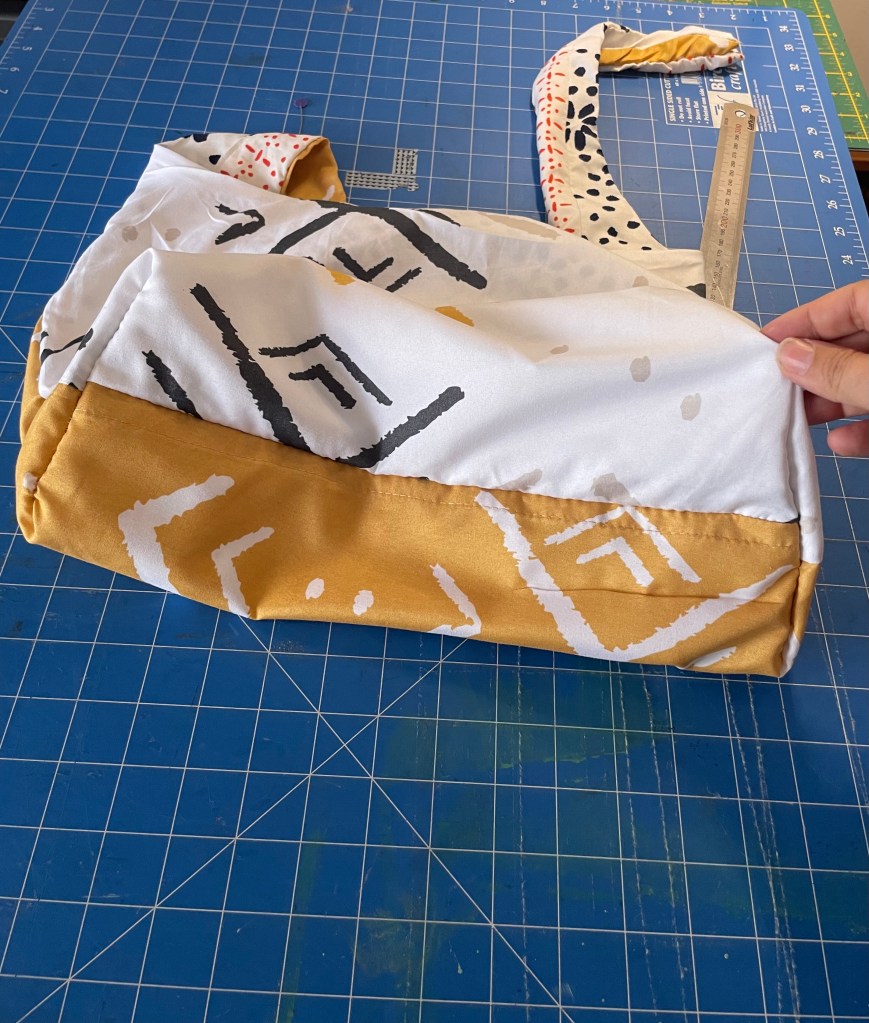
To create a bit of shape and give a boxy bottom to your bag, sew triangles across both bottom corners. As I type this I realise it probably doesn’t make sense unless you’ve done this kind of thing before. Here is a picture that may or may not clarify. If it doesn’t, and you are done, just skip to the step where you tie your handles together. This is not strictly necessary.
I started my corners about 10cm down from the peak and used a zigzag stitch.

Turn your bag out the other way and the bottom should look something like the picture below if you’ve put in the box corners.
Step 7:
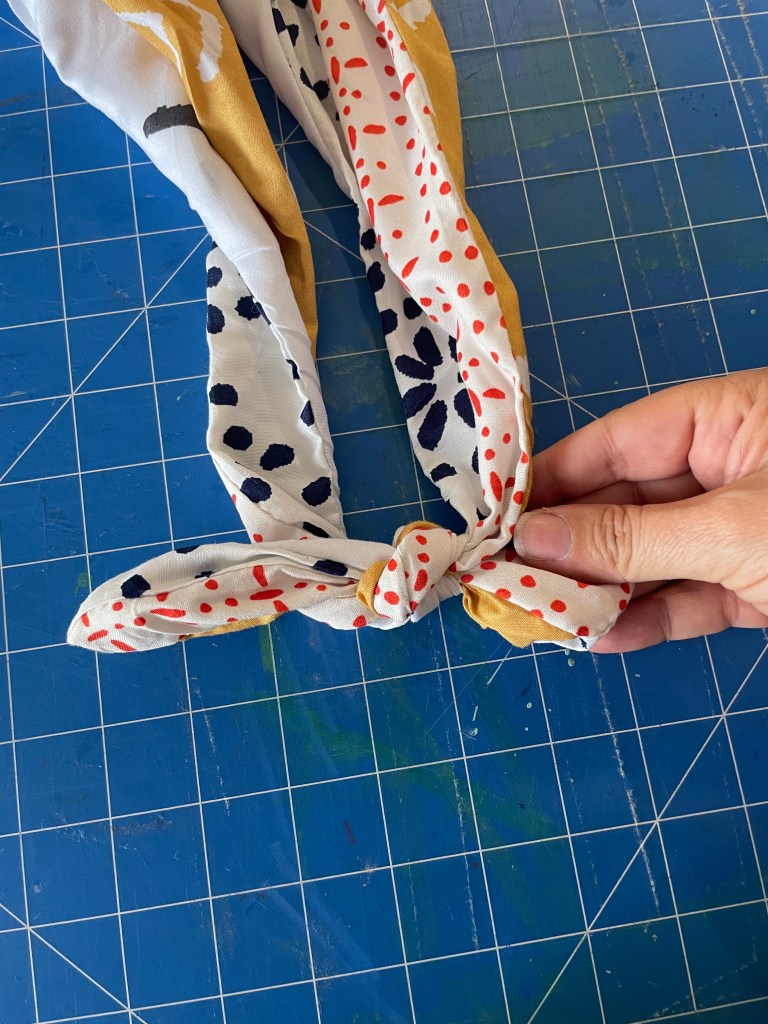
Tie your handles in a double knot. I used my teeth to make it extra tight but dentists would probably not recommend 🙂 And there you have it! See pics below of the bag both ways out! And then functioning as a library bag.


I’m sure I could’ve explained this better, especially the box corners. Got any tips for me? Did you try it? How did you go?
