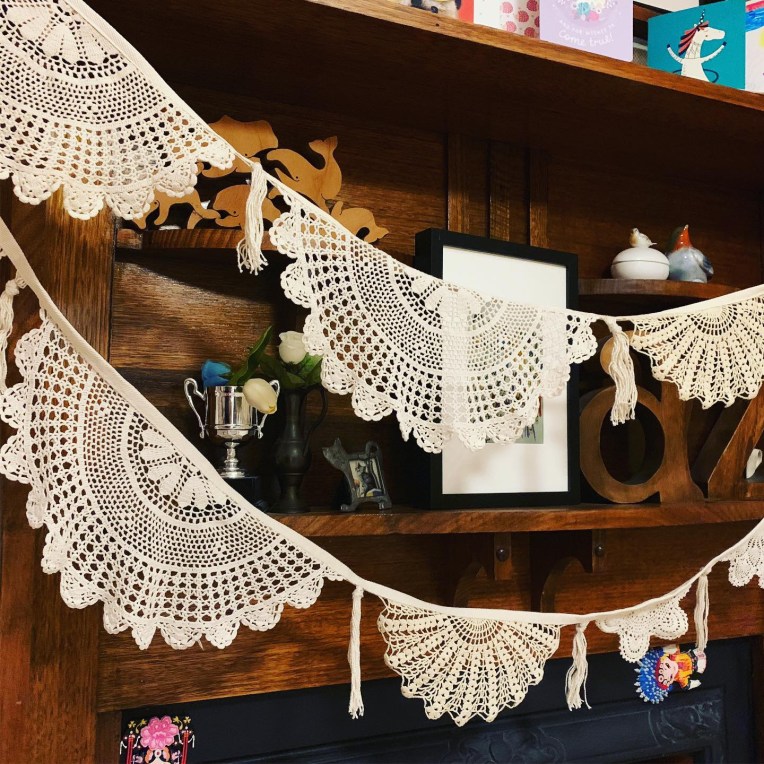
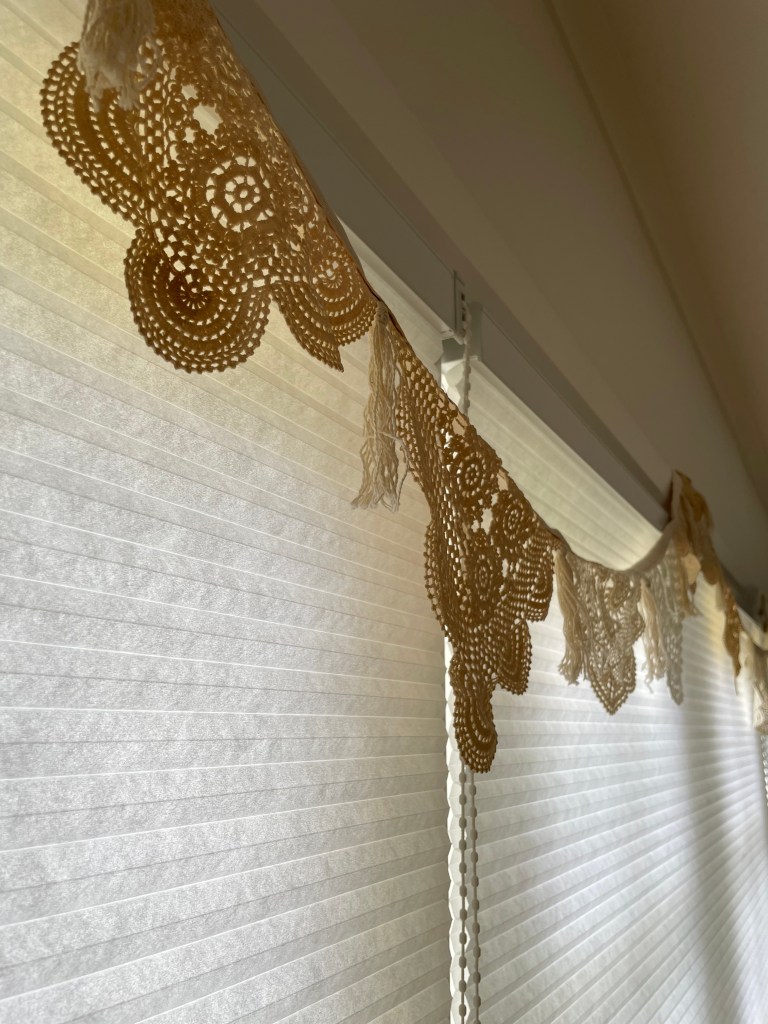
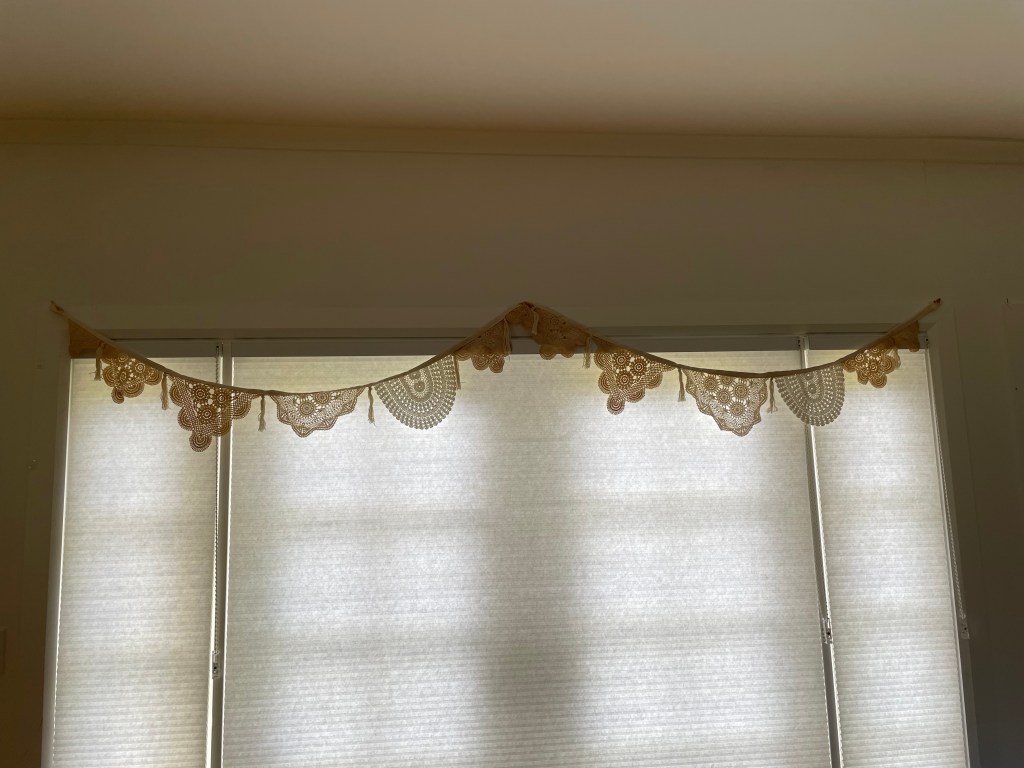
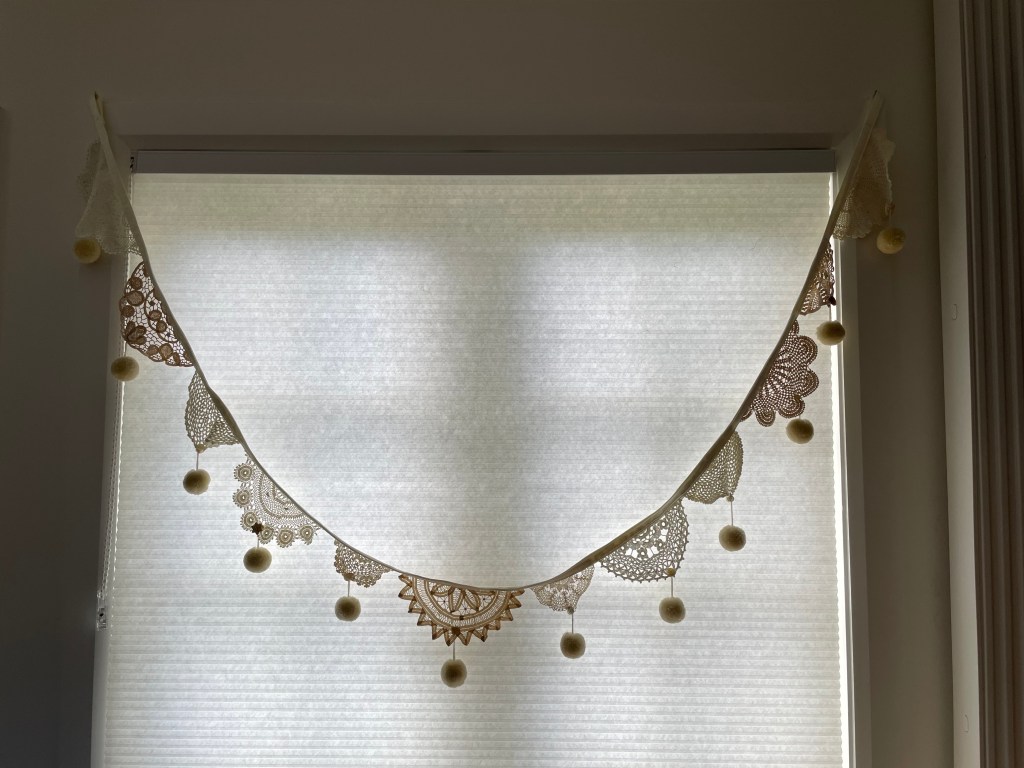
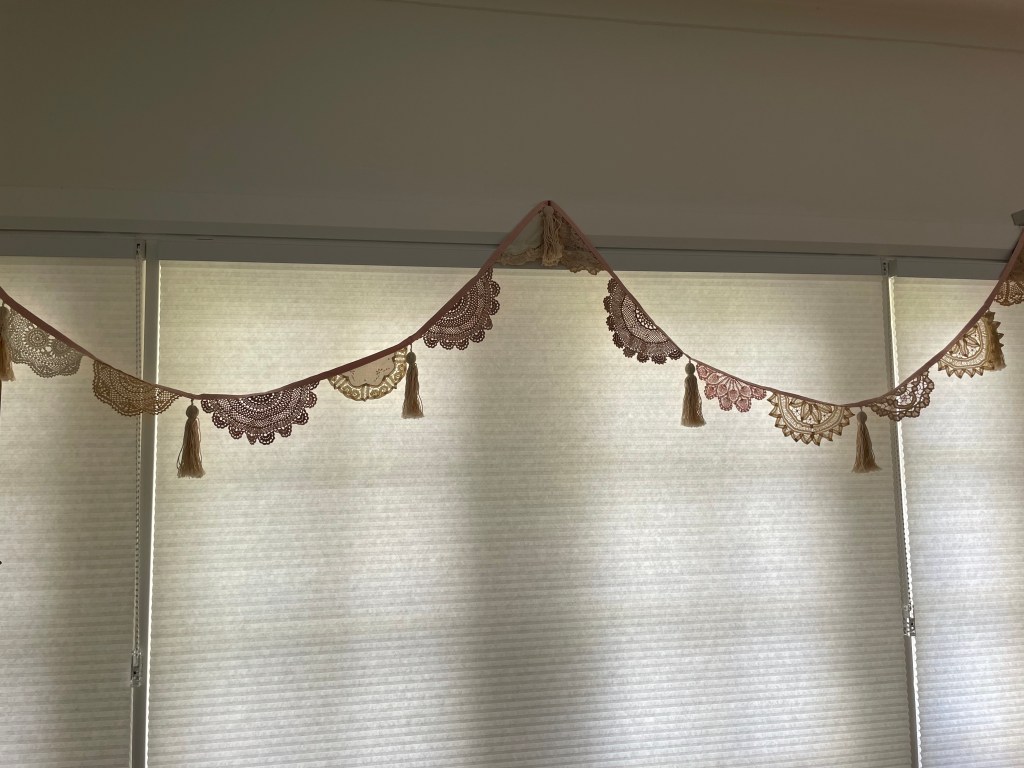
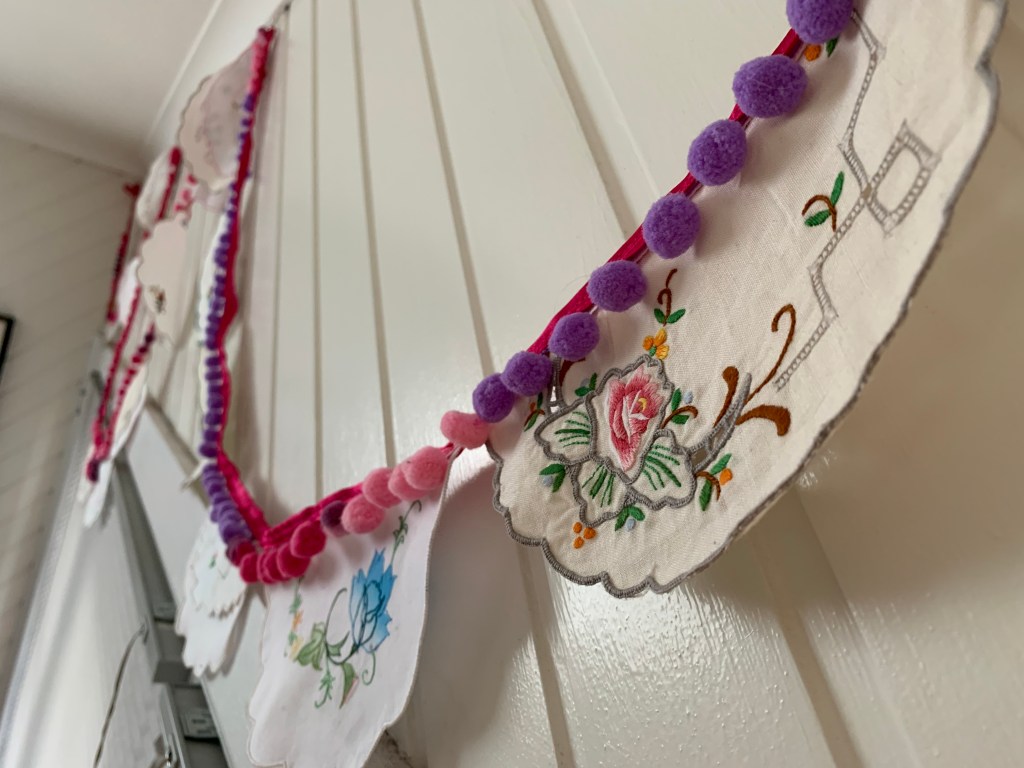
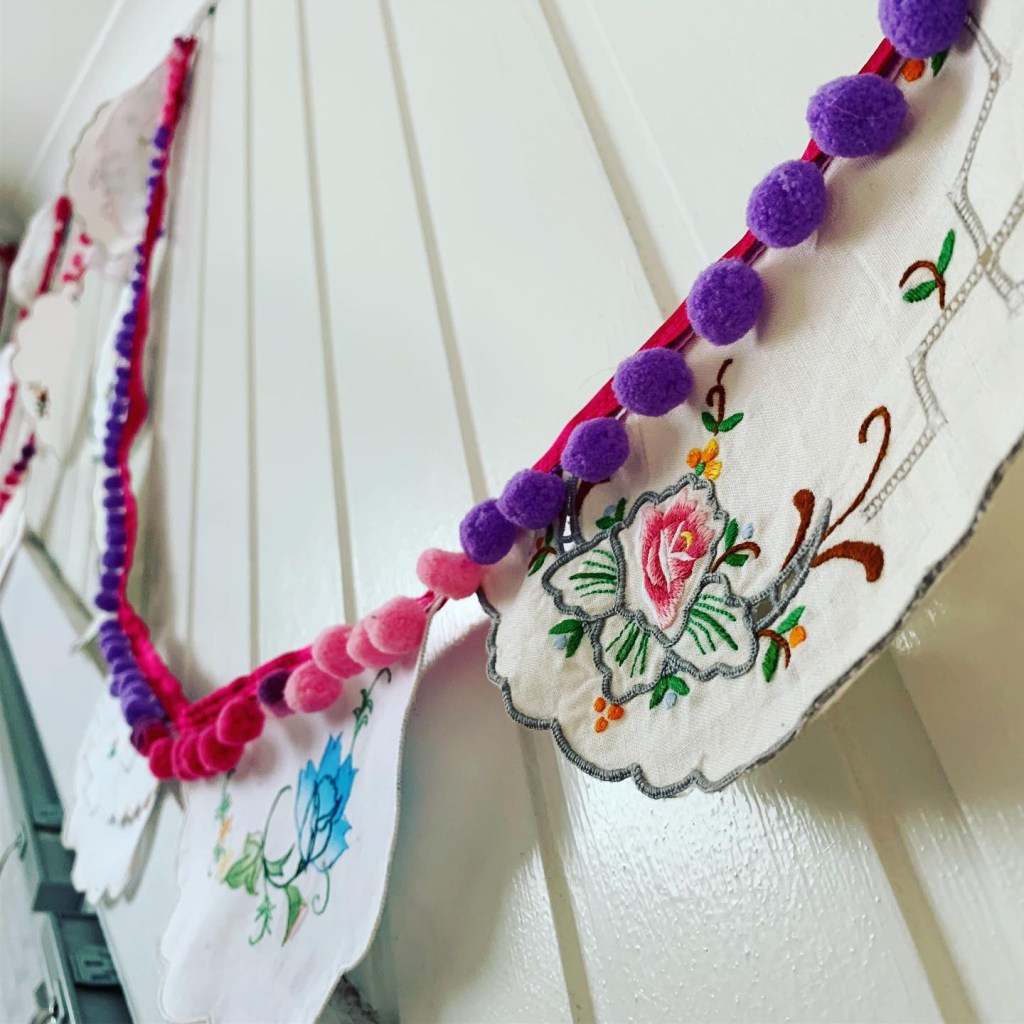
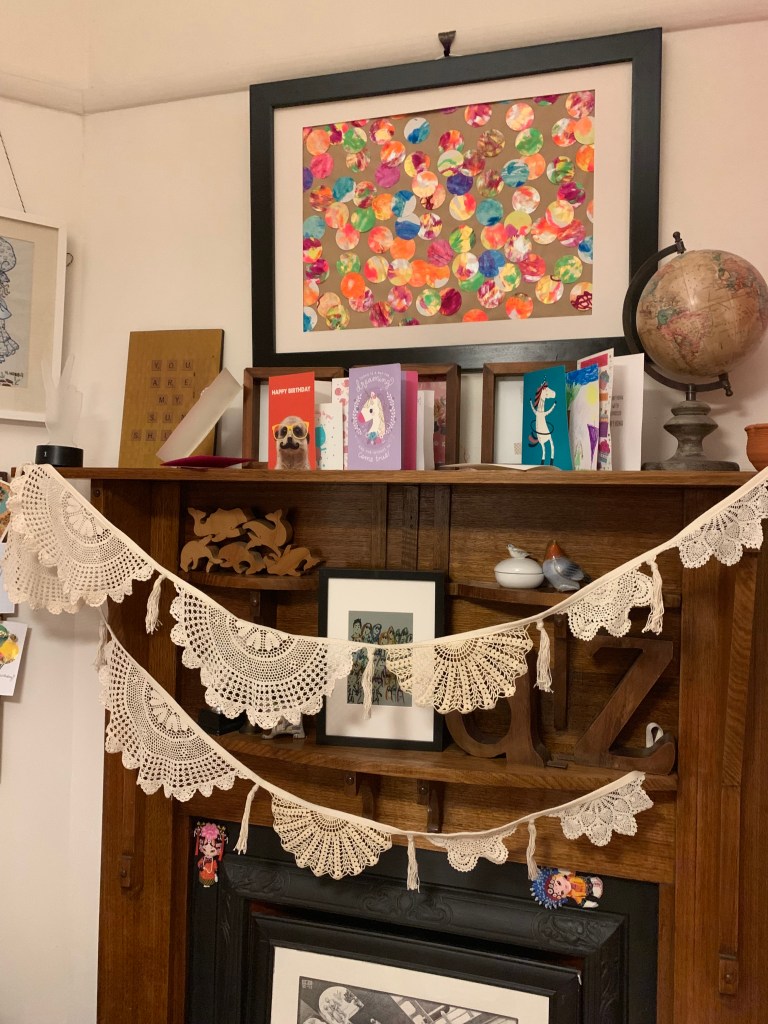
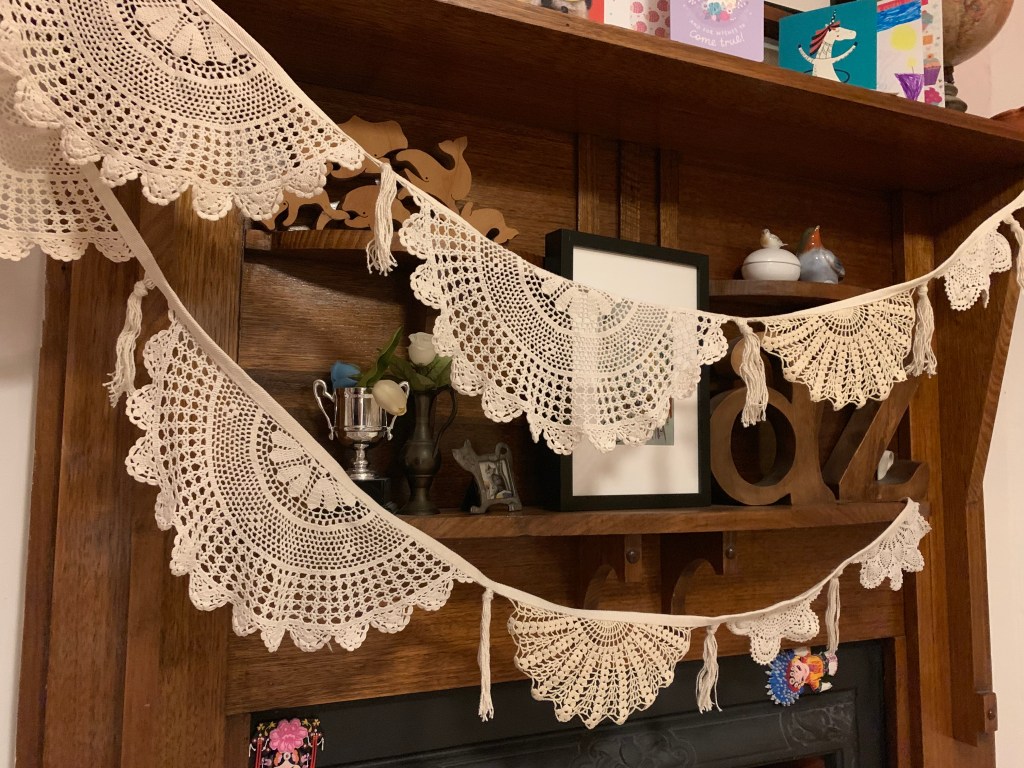
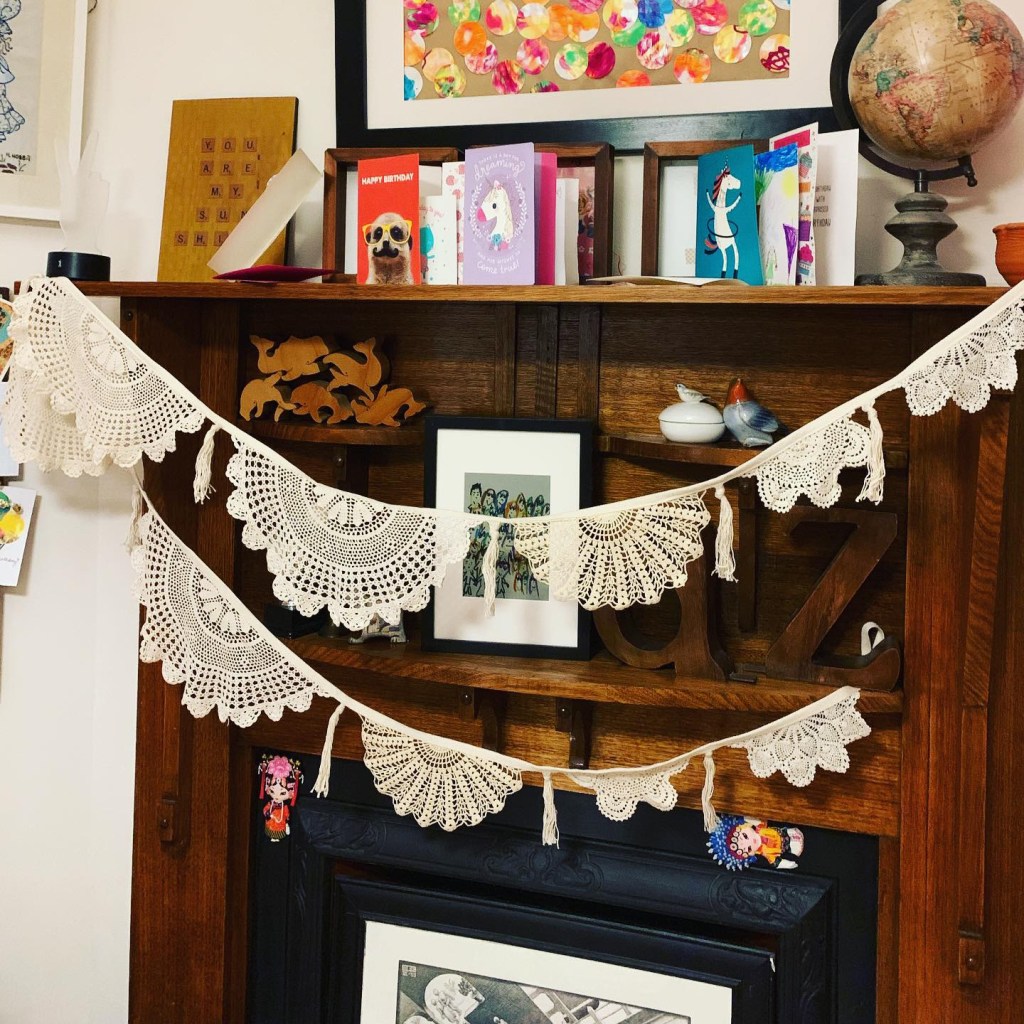
Hand-crocheted doilies apparently take about seven hours to make. That’s a whole lotta hours of labour sitting around in op shops and attics! Doilies might be out of fashion but they are beautiful in their own right. There are millions of ways to upcycle them but my current favourite is turning them into doily bunting.
It looks so pretty in a kids’ or teens’ bedroom, or for decorations for wedding, garden parties, Christmas trees – lots of possibilities.
This video is the simplest and most consistently successful way I have found to make it. Trust me, I have done a lot of experimenting. Read the instructions below for further clarification of each step if required.
What you need
- Doilies – you will be cutting these in half, so you will get twice the length of bunting
- Thin non-stretch ribbon (min 5mm wide) – length needs to be twice the length of your doilies
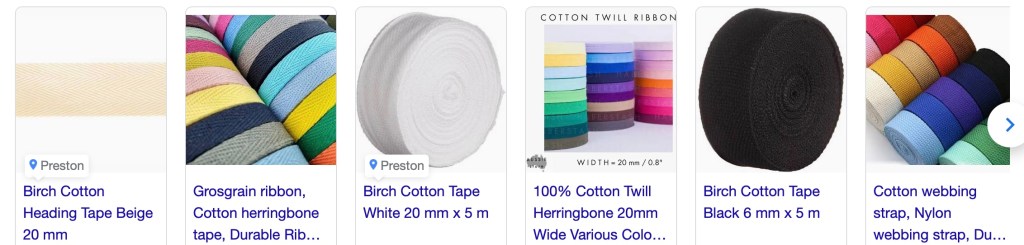
- Thicker cotton tape (min 20mm wide) – length needs to be twice the length of your doilies plus 30 cm
- Sewing supplies – Pins, scissors, thread, sewing machine
Where do I get doilies and what is cotton tape?
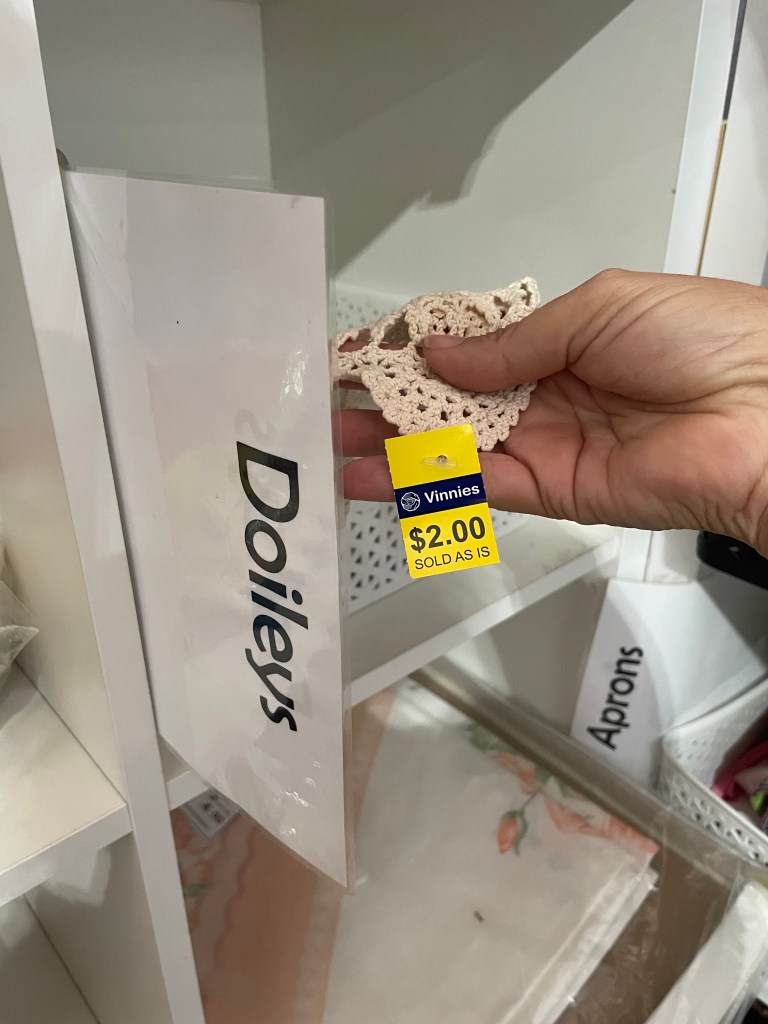
You might have doilies that you have been given, or you can find them in charity shops, starting at 50c! Most of the ones I’ve seen are around $2. (Doilies? Doileys?)
Cotton tape is variously called cotton heading tape, grossgrain ribbon, cotton herringbone tape, cotton webbing. It comes in various widths and lengths. I got mine from a sewing supplies shop but you can pick it up in second hand shops and fabric re-sale shops like The Fabric ReStore.
instructions
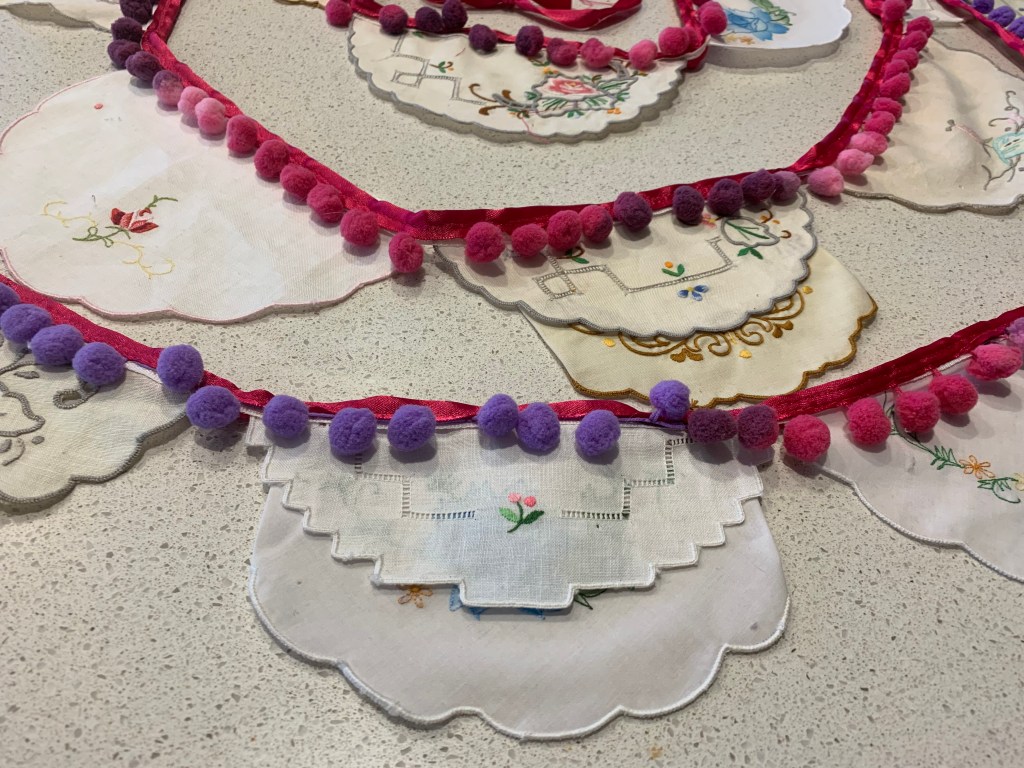
- If you have varying sizes of doilies, plan out what pattern you want your bunting to be (e.g. big, medium, small; repeat).
- Draw a line with a pen down the middle of each doily. It doesn’t matter what you use as long as you can see the line. It will be covered up by tape later. The easiest way to to do this is just fold them in half, give a quick press with an iron, then mark the centre line with a pen.
- Stack your marked doilies next to your sewing machine in the order you intend to sew them in.
- Sew your thin ribbon down one side of the centre line of doilies, feeding them in, one after another.
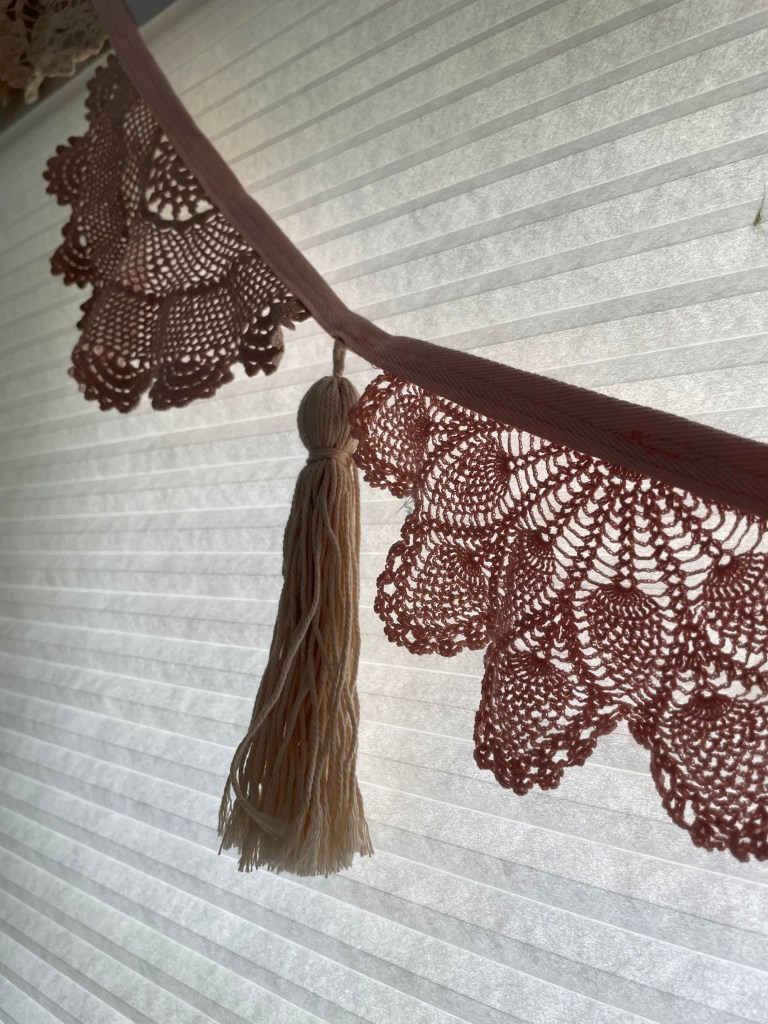
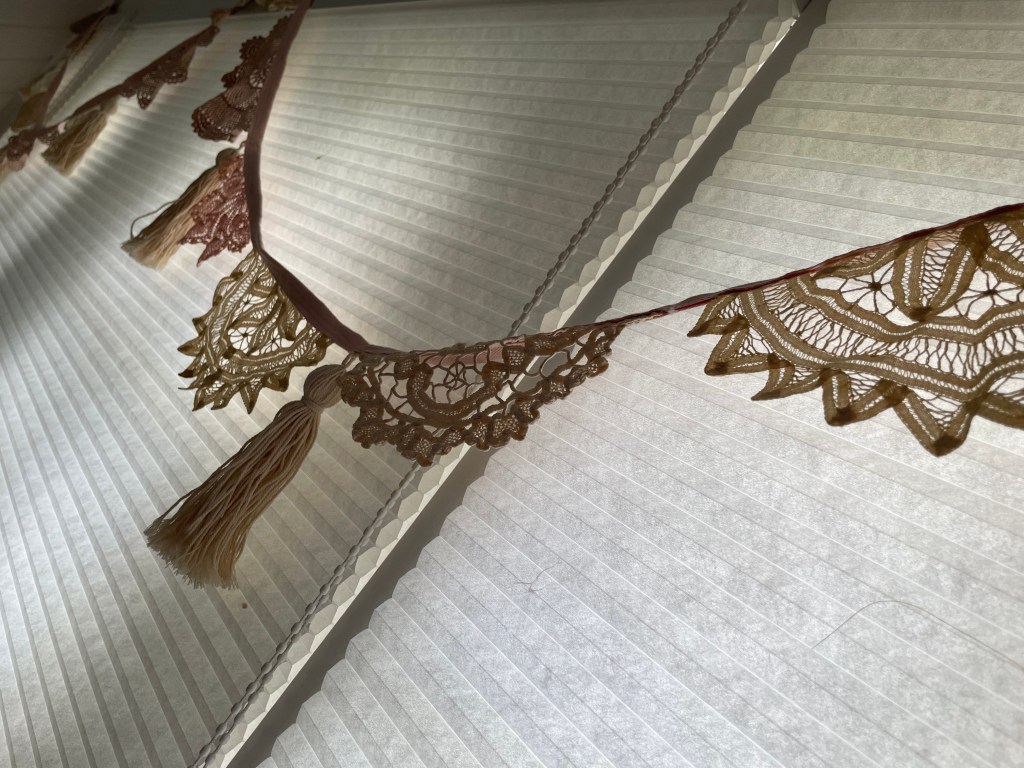
- Repeat – sew the same thin ribbon down the other side of the centre line. You will have two ribbons sewn down the centre of your doilies. Because doilies are basically full of holes, you need to add the ribbon to keep them together.
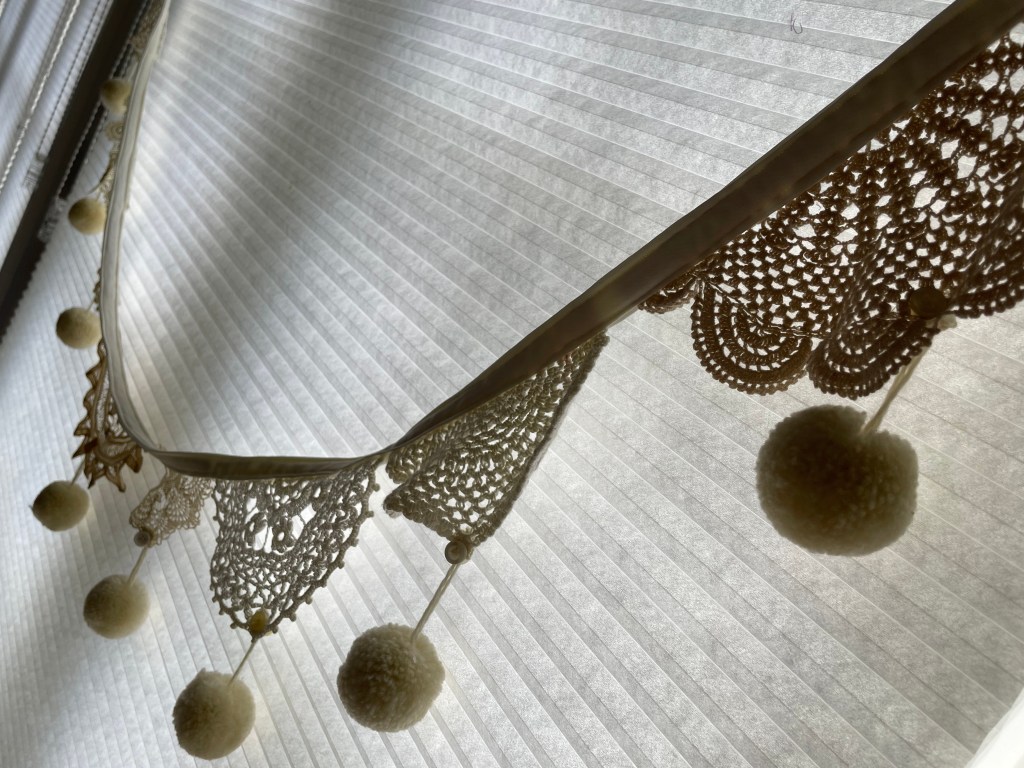
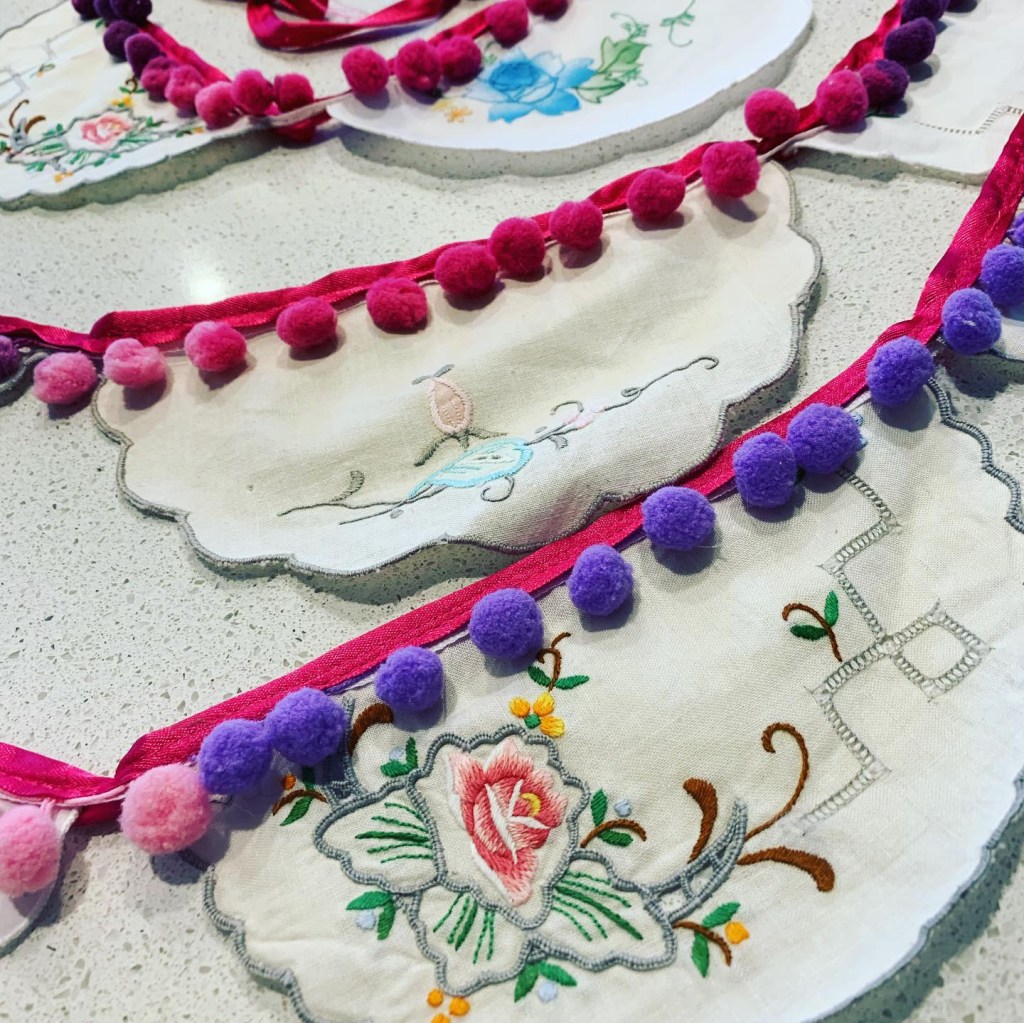
- Cut the doilies in half between the two ribbons.
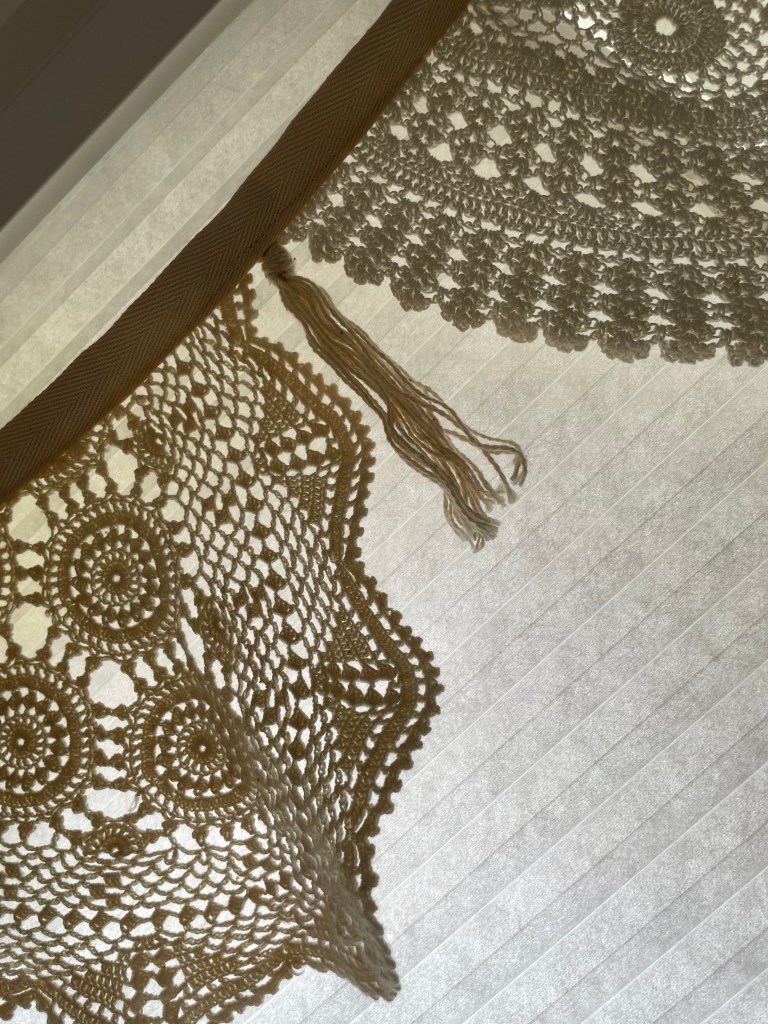
- Use an iron to press your cotton tape in half lengthwise.
- Leaving 7cm of cotton tape at the ends, place your half-doilies down the middle of the cotton tape, fold to enclose the thin ribbon, and pin.
- Sew your cotton tape in place, including the 7cm you left at the start and end.
- Fold over the 7cm of (folded in half and sewn) cotton tape to form loops at the start and end of your bunting, and sew these in place. This forms loops you can use to hang your bunting.
Want in-person help?
If you would like personal instruction on how to make doily bunting I offer in-person tutoring for groups of up to five people (you supply equipment and materials). I can come to you if you’re in Melbourne, or we can FaceTime or zoom it! Get in touch for a quote:
email kerin[at]remaki.com.au
Instagram: @remakistudio
Facebook: remaki
Get fancy
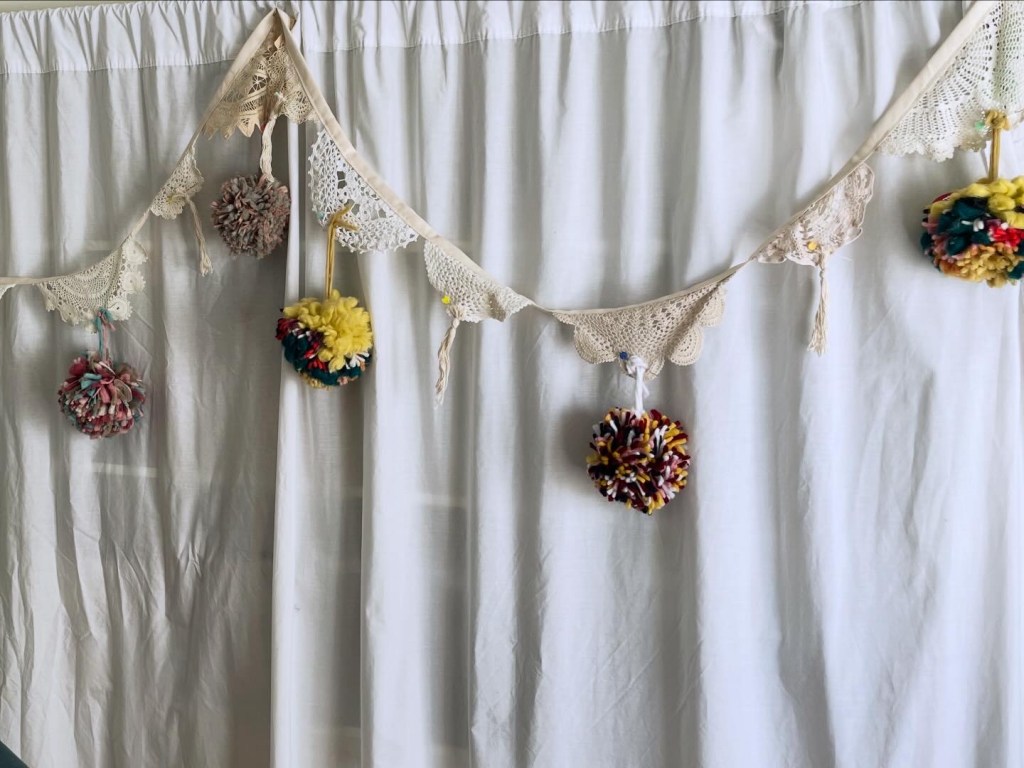
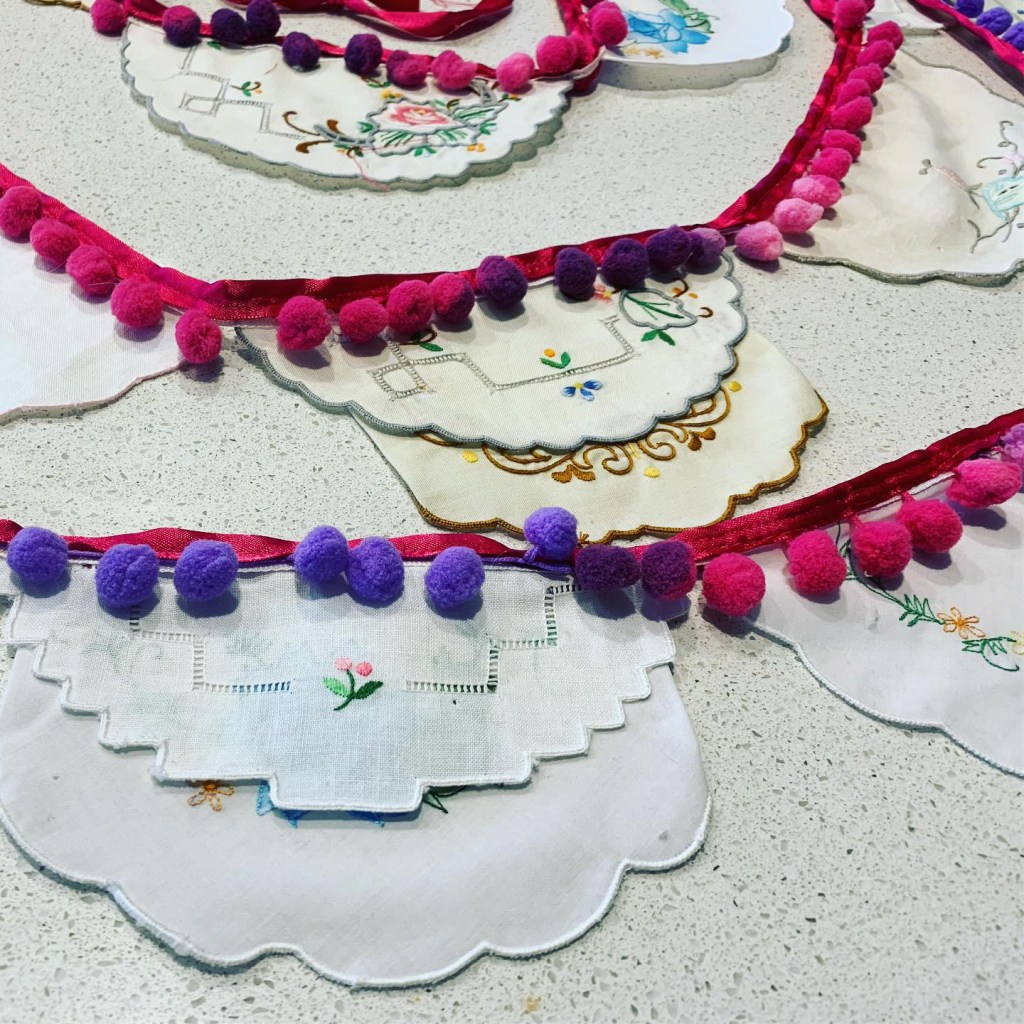
There are lots of ways to add even more magic to your bunting – I have used tassels cut off a blanket and pom poms and buttons. I have also dyed cotton doilies a lovely shade of pink using onion skins! The limits are your imagination – or the imagination of people who post on Pinterest 🙂


Got any ideas or questions for your own doily bunting? Comment below. I will absolutely respond!

Leave a comment